
Make It Monday #63-Glittered Die Cuts

So it took me four tries and four days to figure out the best composition in my head for this week's PTI Make It Monday, but now I'm happy with both versions--lefty and righty.

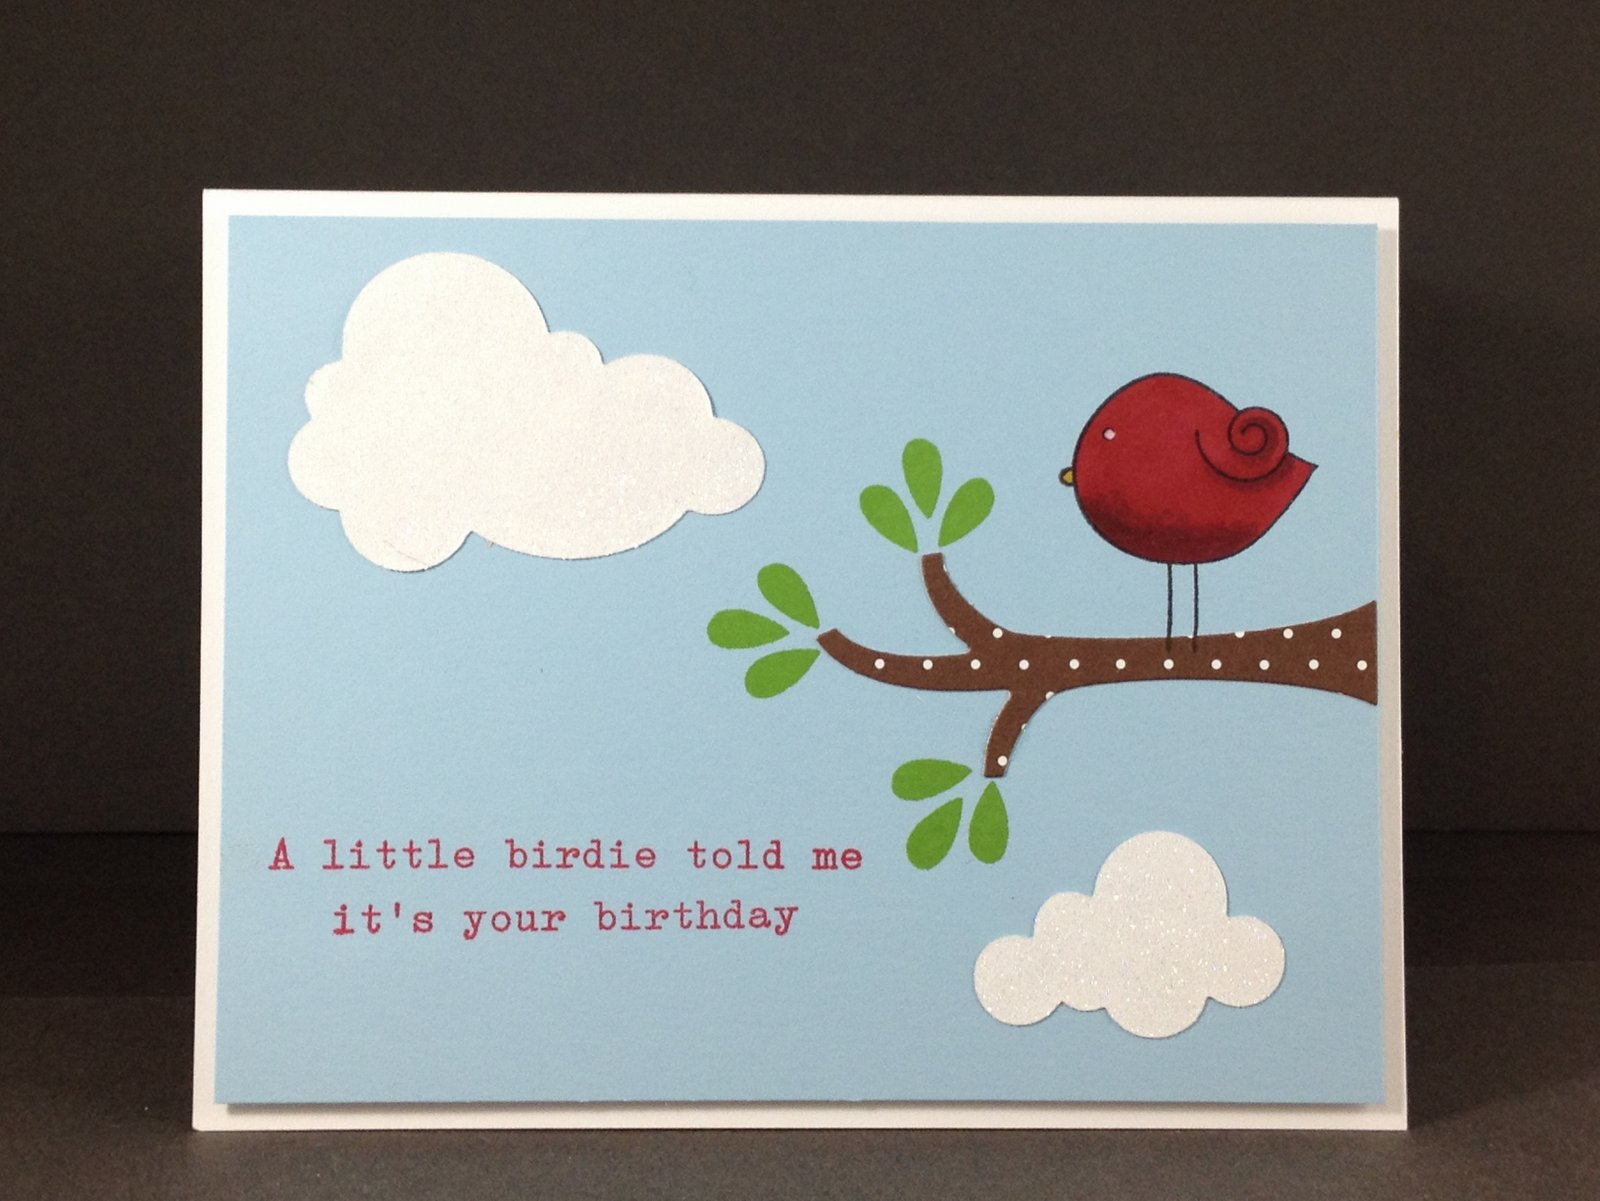
I glittered the cloud dies in both, but it's hard to see.  I used the Trendy Tree Tops die for the branch and the tail feathers from Tweet Talk for the leaves.  Enjoy!

ETA:  I used PTI's adhesive sheets instead of a Xyron.  Just die cut, take the backing paper off, glitter it up and glue it down.

Righty-tighty.
 
Posted by Picasa

Comments

  1. Love your adorable card Cheryl! I just love both of these new sets! So glad I got them. The glittered clouds look great!

    ReplyDelete
  2. This is just darling! I love the glittered clouds and the layout is so happy!

    ReplyDelete
  3. Absolutely Adorable! I love how you used the tree trunk as a branch and the bird tail as the leaves! I also love the bling and pattern in the first bird!!!

    ReplyDelete
  4. Great card with fab glittered clouds.

    ReplyDelete
  5. I really just love the glittered clouds! Such a pretty card!

    ReplyDelete
  6. Thanks for the tip on the glittered clouds! Perfect idea!! I just love how you used the little birdies. I have this set and I thnk you gave me the inspiration I was looking for to ink it up!

    ReplyDelete
  7. Wonderful card! And how clever to use the bird's tails as your "leaves"!

    ReplyDelete

Post a Comment

Popular posts from this blog

Erin Lee Creative January Release

 Hi friends! Today we are hopping to show off the newest release from Erin Lee Creative .  Once again there is a host of unique stamps, dies and stencils, as well as some amazing rainbow holographic cardstock. *PRIZES* Be sure to comment on the blog entries in the hop so you can enter to win a $50 voucher to use in the ELC shop .  There will be two winners chosen at random from the comments. On to the projects: For my first card, I wanted to showcase this big and bold sentiment from the new Stay Golden  stamp set.   One of my favorite techniques is coloring with Copic markers over the top of white heat embossing.  It is a great way to make colors pop on dark cardstock.    Doesn't this stamp just beg for vibrant colors? So fun. The next card uses the new Nesting Stars die set, a sentiment from the Stripe Sentiments stamp set (previously released), and some ink blending with the Retro Swirl stencil  (also previously released).  I love how so many products can be used together.   And

February Blog Hop

For this month's Hop, we are to pay homage to a member of PTI's Design Team. They are all so very talented! I chose a recent project by the amazing Debbie Olson . I loved her simple design with white embossed violets on Raspberry Fizz, with a few little details sprinkled in--sparkly centers, a scored edge and rounded corners. Just beautiful! I actually copied this card exactly, because it was so easy, but then I decided to change it up a bit. Here is my version in Enchanted Evening, with the smaller flowers. I didn't have the right color buttons, so I made a little fancy ribbon edge. The sparkles are flat rhinestone stickers. Best $1.99 I've spent in a while! Thanks for the inspiration, Debbie! Paper: PTI White, Enchanted Evening Ink: PTI Enchanted Evening, Versamark Stamps: PTI Year of Flowers: Violets Other: Filigree White Embossing Powder, PTI EE twill ribbon, flat rhinestone stickers, corner rounder

May WMS Blog Waltz

This month's WMS Blog Waltz challenge is to make a birthday card. I have no trouble making cards for girls, but sometimes boy cards elude me. I absolutely LOVE this paper airplane from Free Spirit-Boy , and I think it's perfect for a simple, masculine birthday card. (Inside the card it says, "happy birthday".) Enjoy! Paper: PTI Kraft, White Ink: Versafine Onyx Stamps: WMS Free Spirit-Boy, Free Spirit Sentiments, PTI Little Lady (dotted trail)